Welcome to The Apache Software Foundation!
Reports Official ASF reports and statements, including Quarterly and Annual Reports, Vision Statement, "Apache is Open", 5-Year Strategic Plan, and more.
www.apache.org

1. apache 홈페이지로 들어가서 tocat9를 다운받는다.
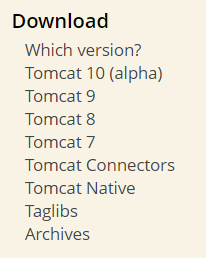

2. 64-bit Windows zip 다운로드
3. 이클립스의 java파일 런치위치에 압축을 푼다.
4.. new -> other -> server 선택
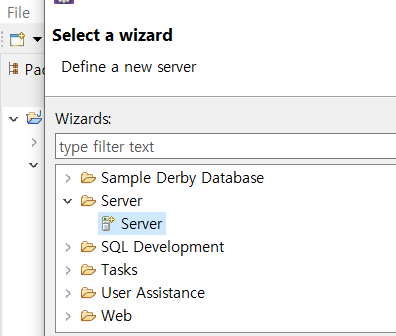
5. Apache 선택 후 Tomcat v9.0 Server 선택

6. Browse -> 아까 압축푼 런치위치 아파치 폴더 선택

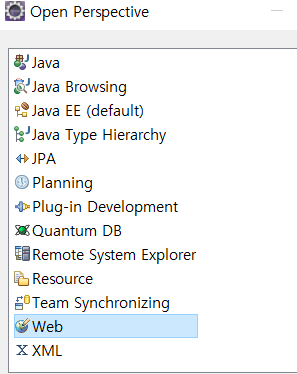
7. Open Perspective -> Web 선택하여 웹 메뉴로 바꾼다.
8. new -> other -> Web -> Dynamic Web project 선택 후 프로젝트 생성

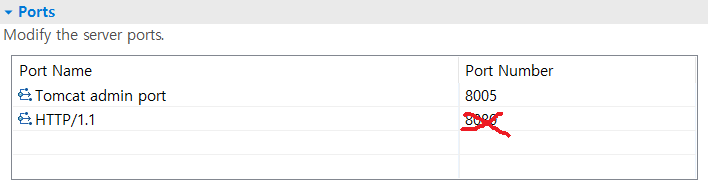
9. Window -> Show view -> Servers -> 하단의 Tomcat v9.0 Server at localhost 선택
Ports -> HTTP 포트의 Port Number을 변경해야한다.
( 오라클이 8080을 사용하기 때문이다.)
10. WebContent -> new -> 파일을 만들 폴더 생성 후 HTML 파일 생성
11. Html 파일 선택 -> 생성할 때 Select HTML Template -> 하단의 HTML Templates 선택

12. New HTML File (5) | New HTML | html 5 선택 후 Edit ->
Preview : 부분 코드의 <meta charset = "${encoding}"> 부분을 <meta charset="UTF-8">로 변경 -> Apply
다시 html5 선택후 HTML 파일 생성
13. node.js 를 찾을수 없다는 경고창이 나오는데 Web을 할꺼라 패스

14. Window -> Web Browser -> Chrome 선택
15.. 예제 실행
<!DOCTYPE html>
<html>
<head>
<meta charset="UTF-8">
<title>Welcome</title>
</head>
<body>
<h1>Hello HTML</h1>
</body>
</html>
16. 마우스 우측 -> run as -> run on server로 실행

save -> save -> 톰캣 저장하는 화면 나오면 Finish하면서 넘어가도 된다.
17. 실행 화면

'Programming > Web' 카테고리의 다른 글
| Web 글자크기, 이미지 가져오기, 마우스 이미지 바꿈 ( eclipse ) - 2 (0) | 2020.08.18 |
|---|---|
| 웹서버응용 정리4 (0) | 2020.07.03 |
| 웹서버응용 정리3 (0) | 2020.07.03 |
| 웹서버응용 정리2 (0) | 2020.07.03 |
| 웹서버응용 정리 1 (0) | 2020.07.02 |


